Meeting Minutes Sub-System Access
![]()
Accessing the Meeting Minutes Sub-System can be done by selecting the "Minutes" button from the tabset near the top of the page.
If a project has yet to be selected, you will be prompted to do so.
Selecting Meeting Minutes to View
After clicking on the "Minutes" button, a list of any existing meeting minutes will be displayed on the screen.

To view a set of meeting minutes click on the link located under the Name, Number or Date columns.
Delete Existing Minutes
Located next to a given set of meeting minutes, the "DELETE" link will begin the process for deleting a set of meeting minutes from the system. Upon clicking on the link, a delete confirmation page will be displayed.
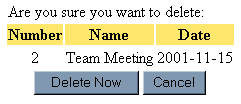
The confirmation page will show the number, name and date of the meeting minutes. Clicking on the "Delete Now" button will permanently remove the meeting minutes from the system. The "Cancel" button will abort the process and return you to the meeting minutes listing.
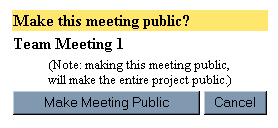
Meeting Minutes can be made available to the public by clicking on the "MAKE PUBLIC" link. Upon clicking on the link, a confirmation page will be displayed.
Making a meeting public will allow users who are not a part of the original project to access and read the meeting minutes. (NOTE: using this feature will make the entire project visible to the public.)
Making Minutes Private
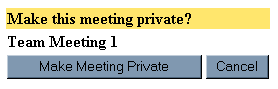
Meeting Minutes can be made private, and therefore not accessible by the public, by clicking on the "MAKE PRIVATE" link. Upon clicking on the link, a confirmation page will be displayed.
Unpublishing Minutes
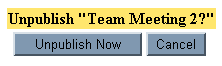
If a set of meeting minutes is shown as "published" a corresponding "UNPUBLISH" link will be displayed next to the minute’s entry. When a meeting is published, it is locking into a read-only mode where none of the information is editable. To unlock a set of minutes click on the corresponding "UNPUBLISH" link and a confirmation page will be displayed.
This confirmation page will show the name and number of the meeting to be unpublished, clicking on the "Unpublish Now" link will unlock the meeting minutes for editing. Clicking the "Cancel" button will abort the process and return you to the meeting minutes listing.
Creating New Meeting Minutes
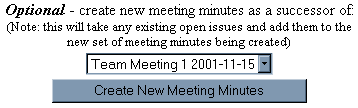
The utility to create a new set of meeting minutes is located below the meeting minutes listing.
To create new minutes simply click on the "Create New Meeting Minutes" button; additionally a predecessor set of minutes can be selected from the pull-down menu. When a predecessor is specified all of the open issues and their comments under the predecessor will be copied over to the new set of meeting minutes. In the above example, "Team Meeting 1" has been chosen as a predecessor meeting for the new set of meeting minutes.
Adding Header Information
Upon clicking on the "Create New Meeting Minutes" button, a form to fill in the meeting minute header information will be displayed. Unless a predecessor meeting is chosen, the meeting title defaults to "Project Meeting" and the meeting number defaults to 1.
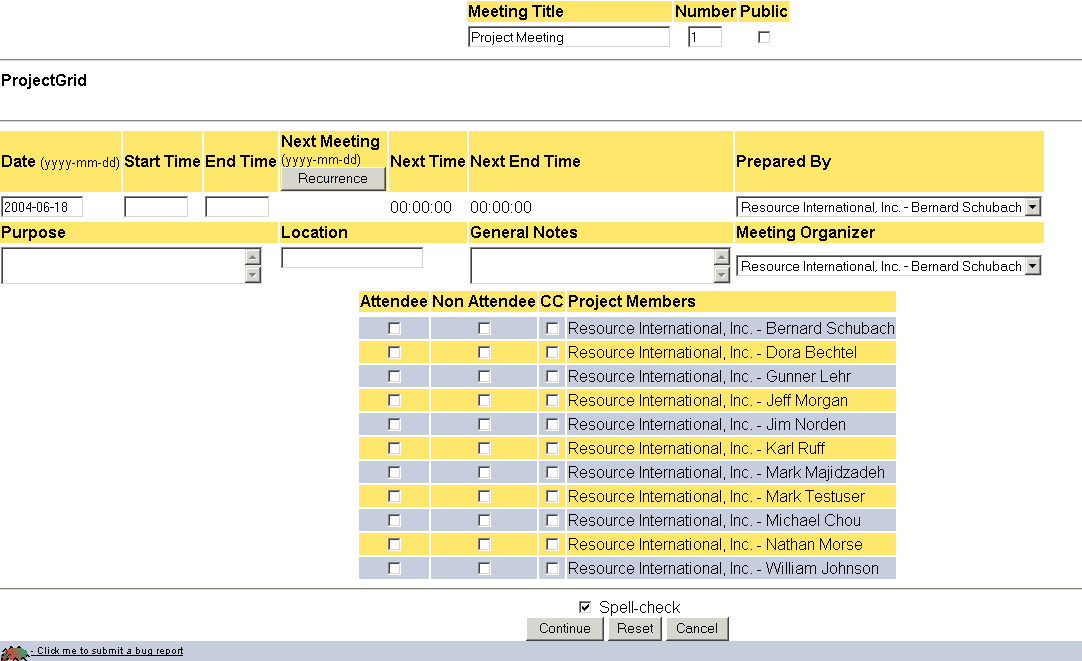
The header displays information needed for each meeting such as the date, start and end times of the meeting. It also shows information about the project the meeting pertains to. If the new meeting has a predecessor meeting, the title and number will be automatically suggested when the new minutes are created. The values in the Date and Prepared By fields will also be chosen automatically. All fields can be changed if desired.
Fields Summary
Meeting Title -- the title of the meeting
Number -- the number of the meeting
Public -- If you check this box, then the meeting minutes will be made public. If you check this box, then the meeting minutes will be made public. If you uncheck this box, then the meeting minutes will be made private. For more information, see the topics Making Minutes Public and Making Minutes Private.
Date (yyyy-mm-dd) - the date the meeting occurred (This can also be entered as "Month Day, Year" or even just "Month, Date" for the current year. If a year is entered, it must be a four-digit year.
Start Time -- the time the meeting started (if AM or PM is not specified, then it defaults to a time between 8:00 AM and 7:59 PM).
End Time -- the time the meeting ended (if AM or PM is not specified, then it defaults to a time between 8:00 AM and 7:59 PM).
Next Meeting (yyyy-mm-dd) -- the date of the next meeting (This can be set via the Recurrence link, which is described below).
Next Time -- time the next meeting is scheduled to start (This can be set via the Recurrence link, which is described below).
Next End Time -- time the next meeting is scheduled to end (This can be set via the Recurrence link, which is described below).
Prepared By -- the person who is preparing the meeting minutes (only people on the project can be chosen) -- This person is granted special permissions for this particular minutes entry.
Purpose -- the purpose of the meeting
Location -- where the meeting is being held
General Notes -- any comments that need to be noted
Meeting Organizer -- The organizer of the meeting
Attendee -- This box should be checked if this person attended the meeting
Non-Attendee -- This box should be checked if this person did not attend the meeting
CC -- This box should be checked if the person should be "carbon copied" in on the meeting minutes when they are published.
After filling in all the appropriate data, click on the "Continue" button to save the header information and continue on with the creation process. The "Reset" button will reset all the data fields to their initial values. Clicking the "Cancel" button will abort the process completely.
Clicking on the "Recurrence" link under "Next Meeting" brings up a screen to set a recurring meeting.
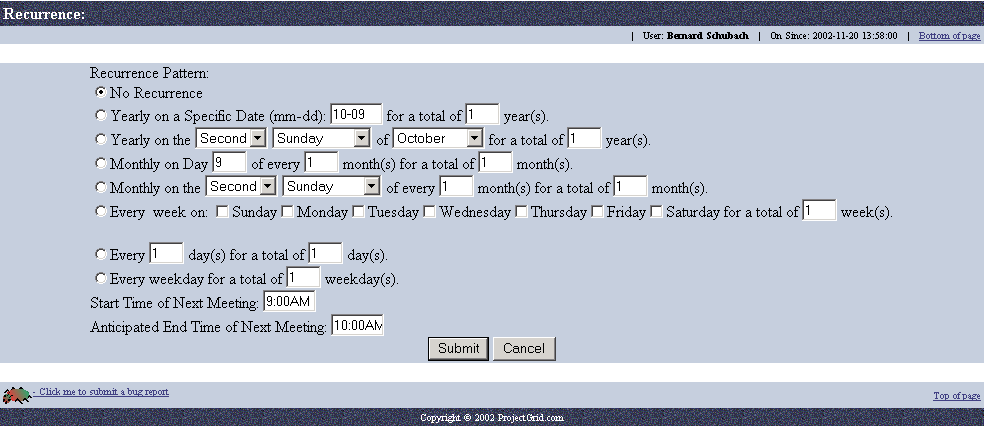
Specify the Recurrence Pattern to create future meeting entries, or "No Recurrence" to disassociate the future meetings from this meeting.
Editing Header Information
Header information can be edited by clicking on the "Edit Header" button in the meeting minutes view. (see "Adding Header Information" for more details)
Add/Edit/Delete Project Logo
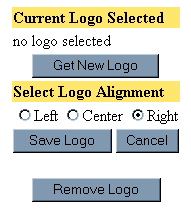
Clicking on the "Add/Edit/Delete Logo" button allows the user to add, replace or remove a project logo for the meeting minutes.
Select a logo using the "Get New Logo" button, then select the horizontal alignment that will determine where the logo will appear on the meeting minutes. Clicking on "Save Logo" will save the file that is to be used as the logo and its desired alignment. The "Cancel" button will abort the process and "Remove Logo" will remove the logo from the minutes via a confirmation page.
Meeting Minutes View
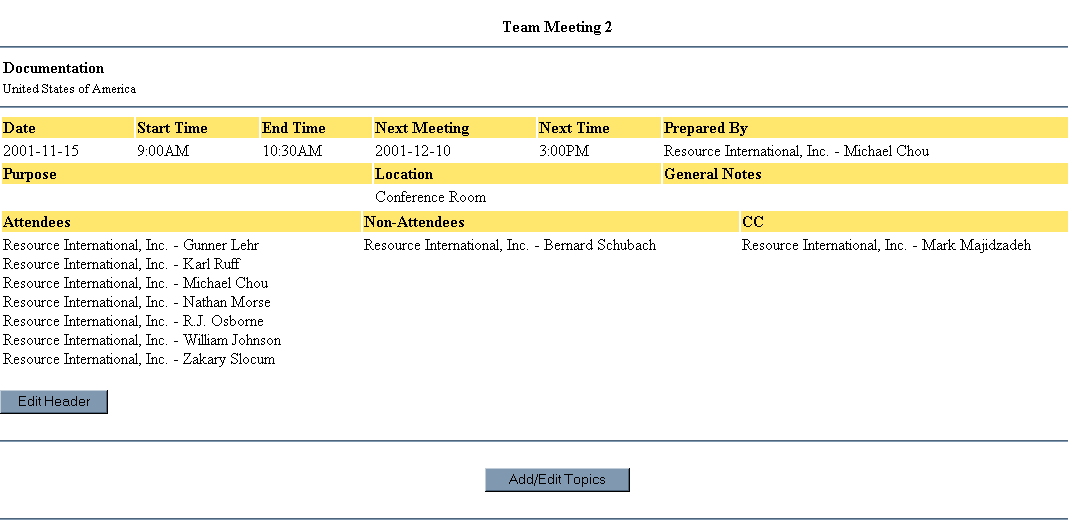
Located at the top of the document is the header information that was entered and saved. The middle of the document is dedicated to keeping track of various topics and issues that were discussed during the meeting. The bottom of the document is dedicated to the footer, which (by default) contains disclaimer information.
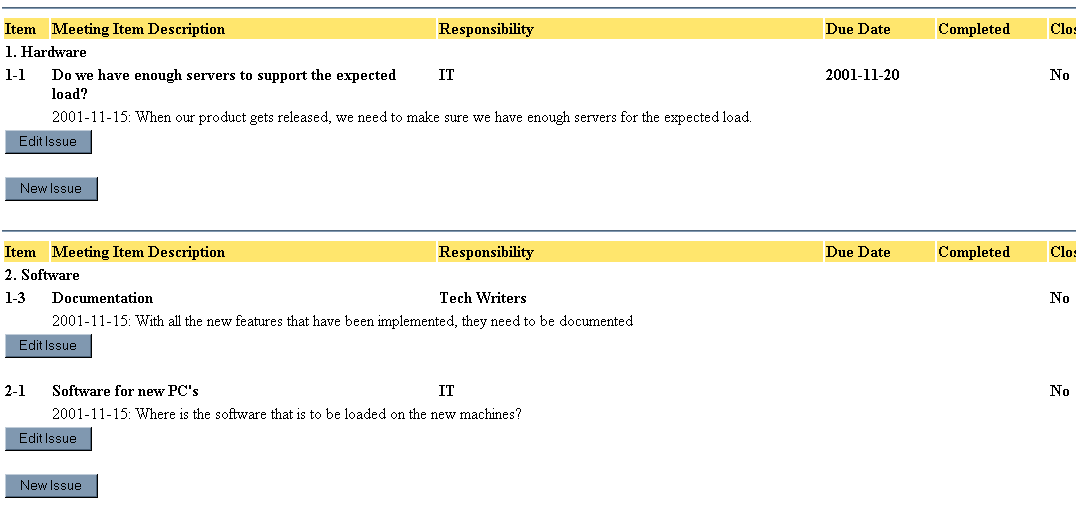
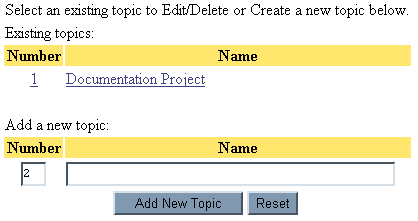
A new topic can be added or an existing one edited/deleted by clicking either of the "Add/Edit Topics" buttons. Here a list of existing topics will be shown as well as a small utility to add more new topics.
Adding a Topic
Type the new topic number (a suggested default is provided) and name into the form and click on the "Add New Topic" button. The new topic number/name will be added to the system and will be shown under the "Existing topics" list.
Editing a Topic
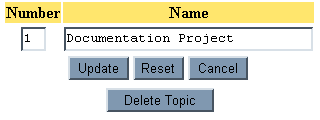
Select the desired topic by clicking on it from the "Existing topics" list. An edit page will then be displayed.
Here the topic Number and Name can be edited. When finished click the "Update" button and the new information will be saved to the system. The "Reset" button will reset the data to their initial value. The "Cancel" button will abort the process and nothing will be changed.
Deleting a Topic

Select the desired topic from the "Existing topics" list and the edit topic screen will be displayed. To delete the topic click on the "Delete Topic" button and a confirmation page will appear.
Clicking the "Delete" button will remove the topic from the system, the "Cancel" button will abort the process and nothing will be deleted.
Adding a New Issue
Located within each topic is a "New Issue" button. This allows you to add new issues underneath the corresponding topic. Upon clicking on the "New Issue" button a form will be displayed to gather information about the new issue.
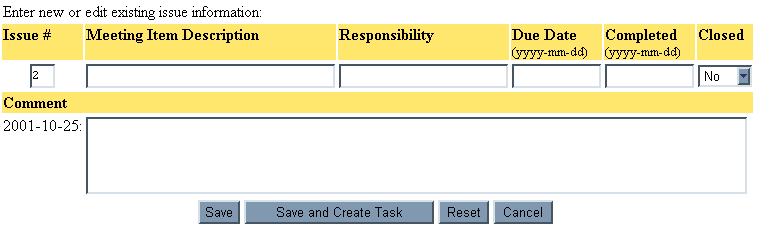
Fill in the appropriate information and click on the "Save" button to record the information and add it to the meeting minutes. If you wish to create a task on the Project Schedule click on the "Save and Create Task" button (see Creating a Task from an Issue for more details). The "Reset" button sets all the form fields back to their initial value and the "Cancel" button aborts the process with no data getting saved.
Field Summary
Issue # - the number of the issue for the current set of meeting minutes (a default is suggested), please note that the Issue # is number of issues created for the current set of meeting minutes
Meeting Item Description – a text description of the issue, usually a question or short statement pertaining to the topic the issue is related to
Responsibility – the person or group that is responsible for taking care of and/or answering this issue
Due Date (yyyy-mm-dd) – the date the issue is due
Completed (yyyy-mm-dd) – the date the issue is actually completed
Closed – the current status of the issue, if its value is "No" then more work needs to be done to complete the task, if "Yes" all work for the issue is completed
Comment – a text statement that contains any comments or answers for the issue
Note on the numbering of issues on a set of meeting minutes
Each issue has pair of number associated with it when being viewed on the meeting minutes. They are of the format:
x1-x2 <Meeting Item Description>
where
x1 = the number of the meeting the issue was initially created
x2 = the issue number for the issue
Therefore if an issue shows up as the following:
"1-2 What time is it?"
The numbering gets interpreted as, "The issue ‘What time is it?’ is the second issue on the first meeting."
Editing an Issue
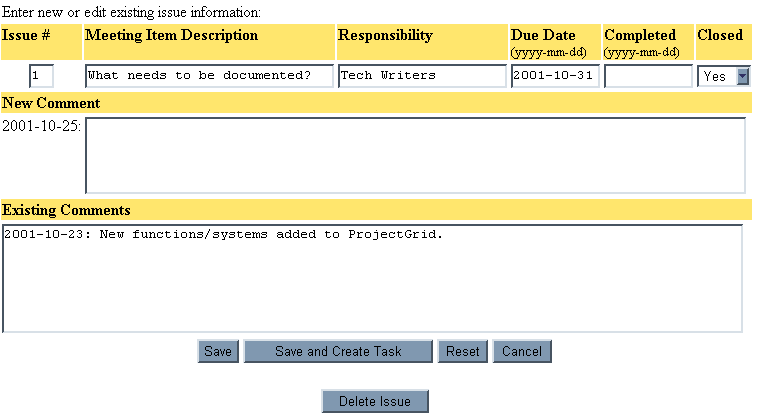
For each existing issue there is a corresponding "Edit Issue" button that can be clicked if you wish to modify the details of the issue.
The edit issue page shows all of the existing issues and also has an additional comment box to insert new comments for the issue. Any new comments will have a date stamp inserted at the beginning of the comment. After modifying the desired date click on the "Save" button to update the information. If you wish to create a task on the Project Schedule click on the "Save and Create Task" button (see Creating Tasks from Issues for more details), this button will not be available if the issue has already been assigned to a task. The "Reset" button sets all the form fields back to their initial value and the "Cancel" button aborts the process with no data getting updated.
Field Summary
Issue # - the number of the issue for the current set of meeting minutes (a default is suggested), please note that the Issue # is number of issues created for the current set of meeting minutes
Meeting Item Description – a text description of the issue, usually a question or short statement pertaining to the topic the issue is related to
Responsibility – the person or group that is responsible for taking care of and/or answering this issue
Due Date (yyyy-mm-dd) – the date the issue is due
Completed (yyyy-mm-dd) – the date the issue is actually completed
Closed – the current status of the issue, if its value is "No" then more work needs to be done to complete the task, if "Yes" all work for the issue is completed
New Comment – a text statement that contains any new comments or answers for the issue
Existing Comments – a text field where any existing comments are available for editing
See the note on the numbering of issues on a set of meeting minutes for more details.
Deleting an Issue
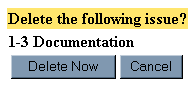
From the Edit Issue screen, the issue can be deleted by clicking on the "Delete Issue" button.
On the confirmation page, clicking "Delete Now" will delete the issue permanently, while the "Cancel" button will abort the delete process without enacting any changes.
The Meeting Minutes sub-system has been tied in with the Task List feature on ProjectGrid.com. As a result, any issue with a set of meeting minutes can be made into a task on the Task List. To assign an issue as a task, click on the "Save and Create Task" button on the issue edit page and the task assignment page will be displayed.
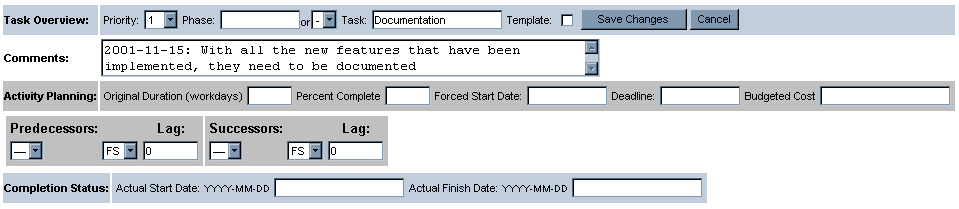
The Task Name will be set to the Issue Name and the Task Comments will contain the Issue Comments. Fill in any other information that is needed and click the "Save Changes" button. You will then be directed to the Assign Resources page.

Here select who the task should be assigned to and add a comment if desired. Clicking the "Replace Resources" button will notify the appropriate people and return you to the Meeting Minutes View. If you do not replace resources, then the default assignment is to the person who created the task.
Creating File Attachments for the Meeting
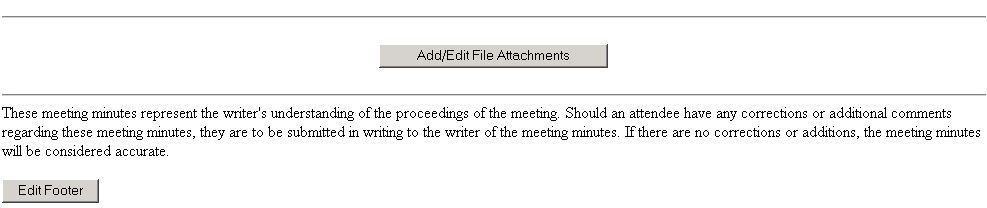
Clicking on "Add/Edit File Attachments" brings up a screen to assign file attachments to the meeting minutes.
For example, this could also be a PDF version of the meeting minutes. If the meeting minutes are entered via the "Add/Edit Topics" and "Add/Edit Issues", then a PDF version of the meeting minutes can be automatically attached to the meeting minutes after publishing the meeting minutes (See "Publishing Minutes" and "Generating PDF of the minutes" below).
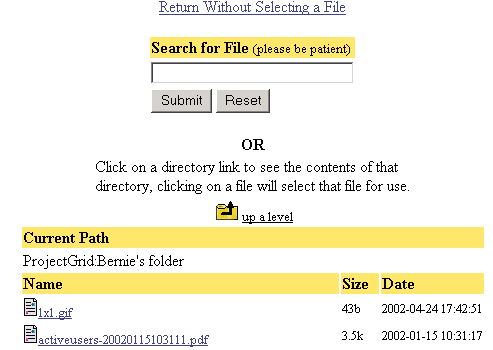
To add a file other than an automatically generated PDF to the meeting minutes, first upload the file to the ProjectGrid file system (see File System – File Upload). Then click the Add/Edit File Attachments link which will display the "Add/Edit/Delete File" page.
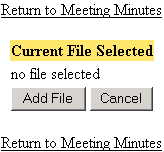
Clicking the "Add File" link will allow choosing of a directory and then a file, as shown below.
Editing the Footer
The footer for a given set of meeting minutes generally contains disclaimer information and what to do if something in the meeting minutes is found erroneous. ProjectGrid.com provides a default footer but this default can be edited by using the "Edit Footer" button. On the edit footer page the text of the footer can be edited.

To save the new footer text, click the "Save Footer" button and the new text will be saved. The "Reset" button will restore the text to its previous state and the "Cancel" button will abort the process and will not save any new data.
To publish a set of meeting minutes, click the "Publish" button located at the bottom of the meeting minutes page.

When publishing minutes, the user will be asked to select people on the project who should be notified that the minutes are being published. The people marked as attendees, non-attendees and cc’s will be selected by default. The form also allows for additional email addresses to be added in a comma (‘,’) delimited list (only for a public meeting), as well as any additional comments to be added to the automated notification email. The default parts of the email can also be edited. Clicking the "Publish Now" button will publish the minutes by making them read-only and send a notification email if any people are specified. The "Reset" button will set the form back to its default values and the "Cancel" button will abort the process and return the user back to the meeting minutes view.
Generating a PDF of Minutes

Any set of meeting minutes which has been published will display a button at the top of the minutes page to generate a PDF of the minutes (See Publishing Minutes to learn about publishing minutes). Clicking on "Generate PDF" will display a directory selection screen.
Choose a directory where the minutes will be stored, or enter the name of a new directory or subdirectory. Check the "make as sub-directory" box, choose a parent directory name, and type in a new directory name if the new directory should be a subdirectory. An existing directory can also be used to store the meeting minutes. Clicking "Create and Continue" will bring up a page to enter a file name for the PDF file.
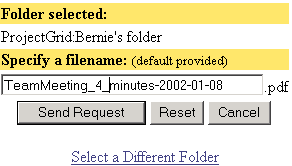
The filename defaults to the meeting title, the meeting number, the word "minutes", the date of the meeting and the date and time of the request. Clicking "Send Request" will start the process to generate the PDF file, and will immediately return to the minutes even before the PDF file is generated. An email will be sent to the person who sent the request once the PDF file has been incorporated into the minutes. Usually the email should be sent within five minutes of clicking on "Send Request." It may take longer, depending on email delays.
Once the PDF is generated, it will automatically be shown as an attachment at the bottom of the meeting minutes, just above the footer.

Who can create a meeting minutes entry?
Anyone on the project can create a meeting minutes entry.
Who can edit or delete a meeting minutes entry?
The meeting preparer or a project administrator can edit or delete a meeting minutes entry. Included in this privilege is the ability to mark a meeting minutes entry as public or private.
Who can publish a meeting minutes entry?
The meeting preparer or a project administrator can publish or unpublish a meeting minutes entry.
Who can view or comment on file attachments to the minutes (including PDF version)
Anyone who has read permission on the folder where the attachment is stored (see File System – Folder Administration for details on setting permissions) can view the attachment and can view any comments made about the attachment.
Anyone who has write permissions on the folder where the attachment is stored can add a comment to the attachment.
Created with HelpSmith.