Meeting Calendar
Access
Accessing the Meeting Calendar can be done by selecting the "Meeting Calendar" link from the Projects tab near the bottom-right of the page.
Selecting Meeting to View Details
After clicking on the "Meeting Calendar" link, a calendar view of any existing meetings will be displayed
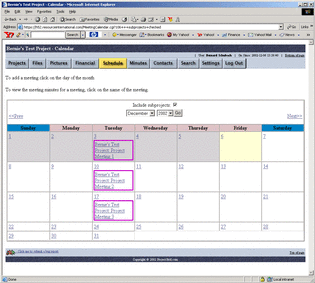
To view meeting details click on the link identified by the Project Name and the Meeting Name and Number.
Delete Meeting Calendar Entry
If you are the meeting preparer or a project administrator, then at the top of the meeting details page there will be a link labelled "Delete Meeting from Calendar". When you click that link, you will get a confirmation screen similar to the following.
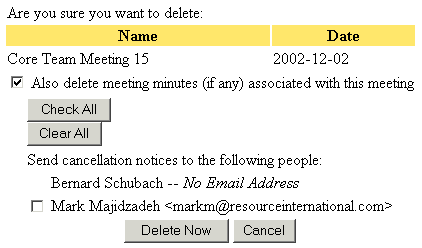
The confirmation page will show the number, name and date of the meeting minutes. Clicking on the "Delete Now" button will permanently remove the meeting minutes from the system and will notify all individuals with a checkbox next to their name that the meeting has been cancelled. All project members show on the list of people who can be notified. The "Cancel" button will abort the process and return you to the meeting calendar.
Making Meeting Public
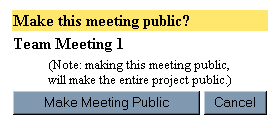
The meeting calendar entry and details can be made available to the public by checking the 'Public' checkbox on the Meeting Header screen. To access this screen, go to the meeting details and then click on 'Edit Header'. Making a meeting public will allow users who are not a part of the original project to see the meeting on the calendar. (NOTE: using this feature will make the project visible to the public on the Projects tab.)
Making Meeting Private
Meeting calendar entries can be made private, and therefore not accessible by the public, by unchecking the 'Public' checkbox on the Meeting Header screen. To access this screen, go to the meeting details and then click on 'Edit Header'.
Upon clicking on a date from the meeting calendar, a form to fill in the meeting minute header information will be displayed. The meeting title defaults to "Project Meeting" and the meeting number defaults to 1.
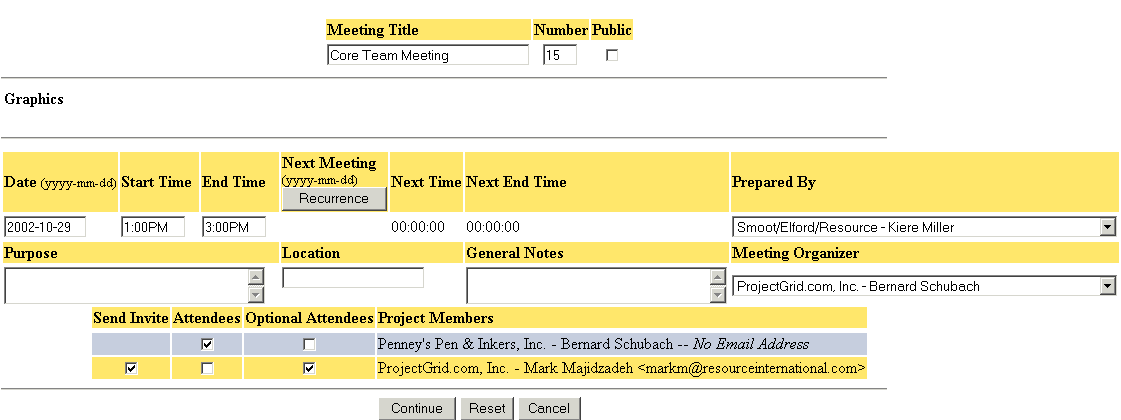
The header displays information needed for each meeting such as the date, start and end times of the meeting. It also shows information about the project the meeting pertains to. The values in the Date and Prepared By fields will be chosen automatically. All fields can be changed if desired.
Fields Summary
Meeting Title – the title of the meeting
Number – the number of the meeting
Public – If you check this box, then the meeting entry will be made public. If you uncheck this box, then the meeting entry will be made private. For more information, see the topics "Making Meeting Public" and "Making Meeting Private".
Date (yyyy-mm-dd) – the date the meeting occurred - This can also be entered as "Month Day, Year" or even just "Month, Day" for the current year. If a year is entered, it must be a four-digit year.
Start Time – the time the meeting started (if AM or PM is not specified, then it defaults to a time between 8:00 AM and 7:59 PM)
End Time – the time the meeting ended (if AM or PM is not specified, then it defaults to a time between 8:00 AM and 7:59 PM)
Next Meeting (yyyy-mm-dd) – the date of the next meeting (This can be set via the Recurrence link, which is described below).
Next Time – time the next meeting will start (This can be set via the Recurrence link, which is described below).
Next End Time – time the next meeting is anticipated to end (This can be set via the Recurrence link, which is described below).
Prepared By – the person who is preparing the meeting entry (only people on the project can be chosen)
Purpose – the purpose of the meeting
Location – where the meeting is being held
General Notes – any comments that need to be noted
Meeting Organizer - The organizer of the meeting
Send Invite - This box should be checked if this person should receive an invitation by email to the meeting when 'Continue' is clicked. It is only an option if the person has an email address in the system. It will be checked by default if the person is an attendee or optional attendee.
Attendee - This box should be checked if this person is a required attendee for the meeting
Optional Attendee -This box should be checked if the person is an optional attendee for the meeting.
After filling in all the appropriate data, click on the "Continue" button to save the header information and send out invitations to the meeting. The "Reset" button will reset all the data fields to their initial values. Clicking the "Cancel" button will abort the process completely.
Clicking on the "Recurrence" link under "Next Meeting" brings up a screen to set a recurring meeting.
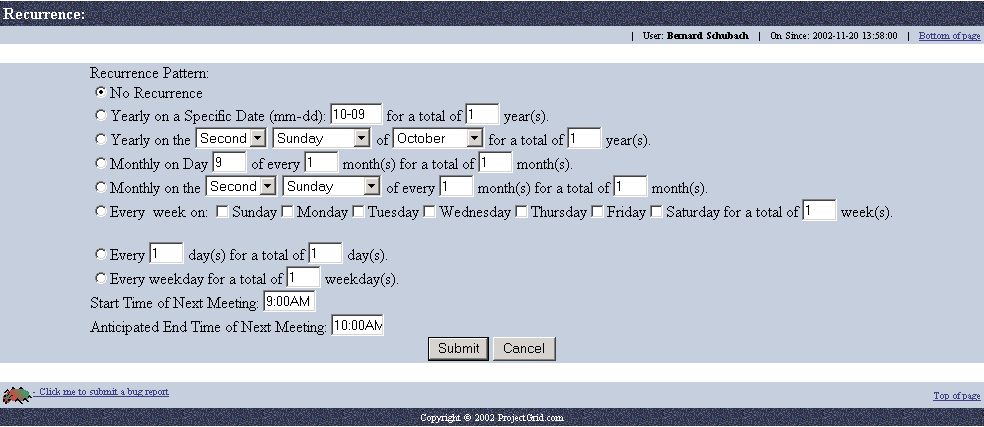
Specify the Recurrence Pattern to create future meeting entries, or "No Recurrence" to disassociate the future meetings from this meeting.
Editing Header Information
Header information can be edited by clicking on the "Edit Header" button in the meeting details page. (see Adding Header Information for more details)
Add/Edit Topics
If you wish to pre-populate meeting agenda items for the meeting minutes, then use this link. For more information, please see the corresponding help topic under the Meeting Minutes section of the help system.
Creating File Attachments for the Meeting
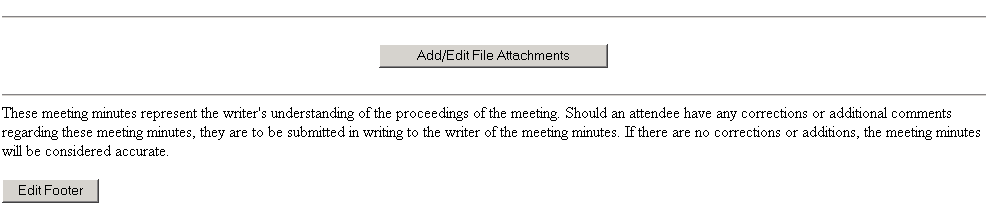
Clicking on "Add/Edit File Attachments" from the meeting entry page brings up a screen to assign file attachments to the meeting minutes.
For example, this could be a document or PDF file of an agenda for the meeting. For a meeting in the past, this could be a PDF version of the meeting minutes.
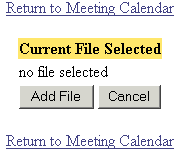
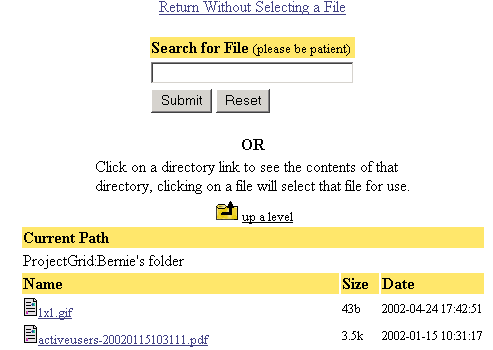
Clicking the "Add File" link will allow choosing of a directory and then a file, as shown below.
Editing the Footer
The footer for a given meeting generally contains disclaimer information and what to do if something in the meeting minutes is found erroneous. ProjectGrid.com provides a default footer but this default can be edited by using the "Edit Footer" button. On the edit footer page the text of the footer can be edited.
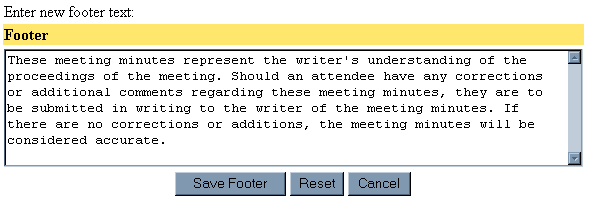
To save the new footer text, click the "Save Footer" button and the new text will be saved. The "Reset" button will restore the text to its previous state and the "Cancel" button will abort the process and will not save any new data.
To publish a set of meeting minutes, click the "Publish" button located at the bottom of the meeting details page. This option will generally be chosen after the meeting has occurred if meeting minutes are attached to the meeting calendar entry.
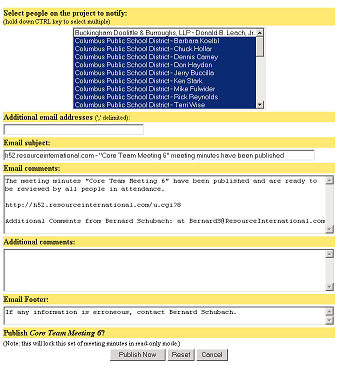
When publishing minutes, the user will be asked to select people on the project who should be notified that the minutes are being published. The people marked as attendees and optional attendees will be selected by default. The form also allows for additional email addresses to be added in a comma (‘,’) delimited list, as well as any additional comments to be added to the automated notification email. The default parts of the email can also be edited. Clicking the "Publish Now" button will publish the minutes by making them read-only and send a notification email if any people are specified. The "Reset" button will set the form back to its default values and the "Cancel" button will abort the process and return the user back to the meeting minutes view.
Generating a PDF of Minutes

Any set of meeting minutes which has been published will display a button at the top of the minutes page to generate a PDF of the minutes (See Publishing Minutes to learn about publishing minutes). Clicking on "Generate PDF" will display a directory selection screen.
Choose a directory where the minutes will be stored, or enter the name of a new directory or subdirectory. Check the "make as sub-directory" box, choose a parent directory name, and type in a new directory name if the new directory should be a subdirectory. An existing directory can also be used to store the meeting minutes. Clicking "Create and Continue" will bring up a page to enter a file name for the PDF file.
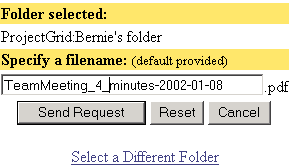
The filename defaults to the meeting title, the meeting number, the word "minutes", the date of the meeting and the date and time of the request. Clicking "Send Request" will start the process to generate the PDF file, and will immediately return to the minutes even before the PDF file is generated. An email will be sent to the person who sent the request once the PDF file has been incorporated into the minutes. Usually the email should be sent within five minutes of clicking on "Send Request." It may take longer, depending on email delays.
Once the PDF is generated, it will automatically be shown as an attachment at the bottom of the meeting details, just above the footer.

Meeting Calendar Permissions
Who can create a meeting calendar entry?
Anyone on the project can create a meeting calendar entry.
Who can edit or delete a meeting calendar entry?
The meeting preparer or a project administrator can edit or delete a meeting calendar entry. Included in this privilege is the ability to mark a meeting calendar entry as public or private.
Who can publish a meeting calendar entry?
The meeting preparer or a project administrator can publish or unpublish a meeting minutes entry.
Who can view or comment on file attachments to the meeting notice (including PDF version)
Anyone who has read permission on the folder where the attachment is stored (see File System – Folder Administration for details on setting permissions) can view the attachment and can view any comments made about the attachment.
Anyone who has write permissions on the folder where the attachment is stored can add a comment to the attachment.
Created with HelpSmith.